Upgrading T-Scan to Version 10
Once you have installed Microsoft SQL (click here if you haven't), you can upgrade your T-Scan to v10. When you upgrade to v10 the first time, your previous database from v9, v8 etc. will be automatically migrated from MS Access to MS SQL. This process is a one-time only step done in the background during the upgrade.
Please click on one of the icons below that best describes your setup. Instructions will appear below.
Questions or concerns? Contact Tekscan Technical Support at support@tekscan.com or +01.617.464.4279.
Local Configuration
|
Network Configuration
|
Local Configuration
If you plan to run T-Scan in a local configuration where your patient list is only accessible to one operatory workstation or a traveling laptop, follow these instructions.
Instructions
-
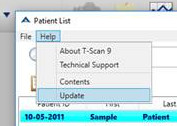
Go to one of the T-Scan computers, open T-Scan, and click on "Help > Update" as shown below. If you don't see Update listed at the bottom of this menu and expect to have an upgrade pending, contact Technical Support.
-
Follow the on-screen instructions, clicking Next on all screens to accept the default locations.
- Repeat steps 1-2 for additional operatory computers.
Network Configuration
Use these steps to update T-Scan on workstations that share a networked database. Note: You must have purchased a Network License Add-on to enable this functionality. The first workstation you upgrade must be one that is currently using a networked T-Scan database for the database migration to be successful!
Each T-Scan application must point to the location where you placed your networked database. Since the location of the networked database will vary by dental practice, these instructions are a little more involved than the local configuration. We would remove these steps if we could!
Instructions
-
Go to one of the T-Scan computers, open T-Scan, and click on "Help > Update" as shown below. If you don't see Update listed at the bottom of this menu and expect to have an upgrade pending, contact Technical Support.
-
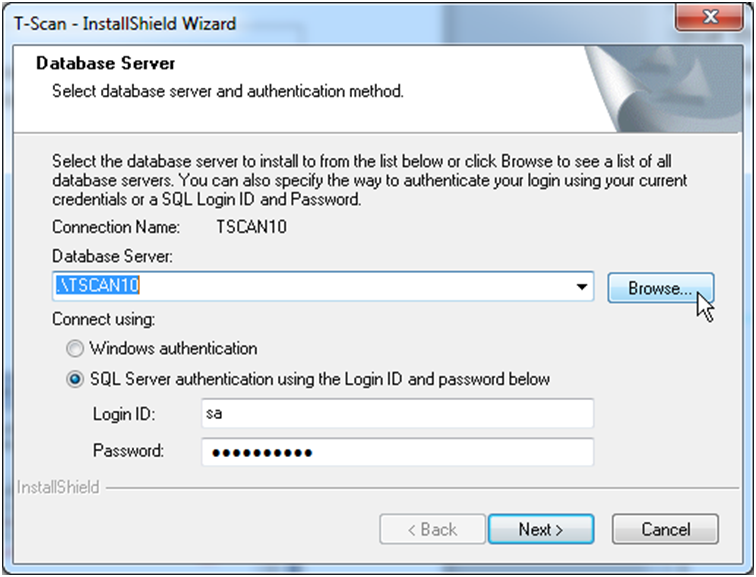
Follow the on-screen instructions. When prompted to select the Database Server, click "Browse" and select the correct SQL Server/Instance name which was displayed in Step 5 when you installed SQL on your server.
-
You should see the suffix "TSCAN10" as shown below. Then click "OK".

Note: If no database servers are listed in this dialog, then you will need to type in the path "server_name\TSCAN10" manually and click next.
-
Now that you have identified the database server, click "Next".
Note: If you receive SQL errors, you will likely need to open a static TCP port in your server firewall for the TSCAN10 instance – click here for instructions.
-
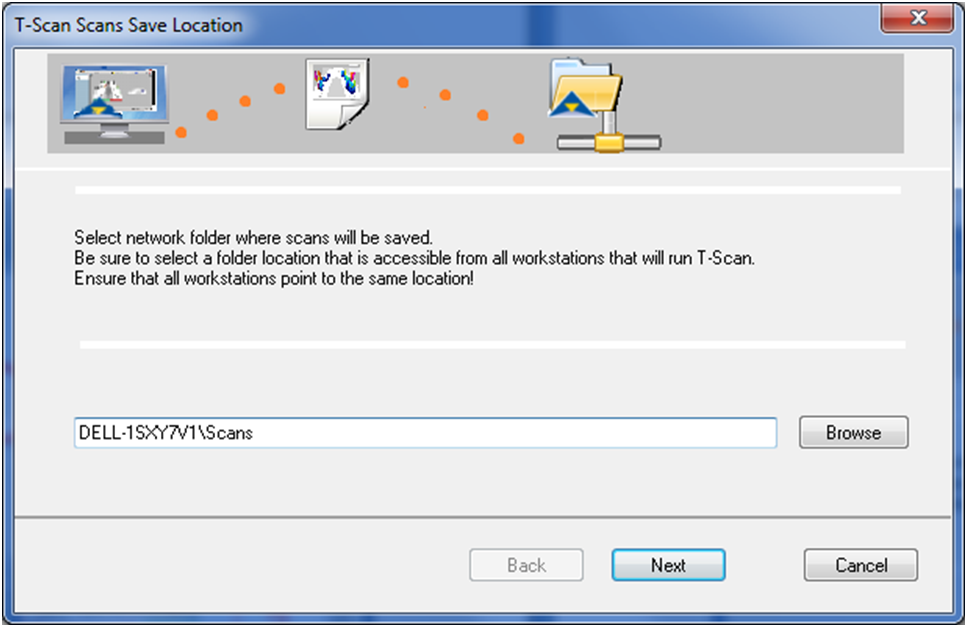
When prompted to select where to save scans on the network, click "Browse" (or directly type the path). Point to the Scans folder on the database server you installed earlier (Step 5 of installing SQL. DELL-1SXY7V1\Scans in this example). Then click "Next".
-
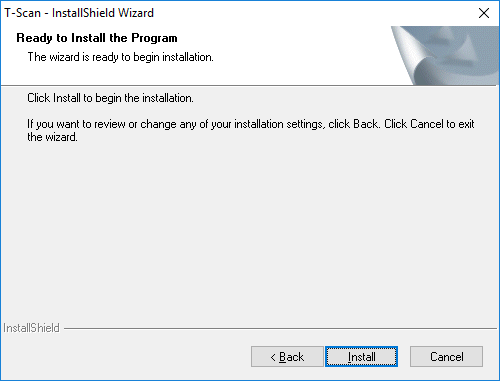
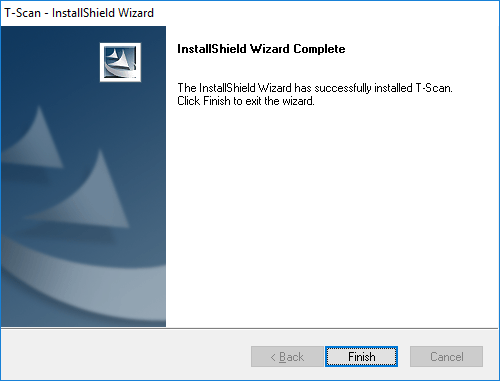
Continue with the update process until the installation is finished.
- Repeat steps 1-6 for additional operatory computers, being sure to point to the correct Database and Scans locations in steps 4 & 5. All patient files should be accessible from that point forward.
- Double check on each operatory by opening the software, going to Help > Technical Support, and ensuring Database Location and Scans Save Folder are both pointing to the correct locations.